Navigation : Home : Optipix : Optipix User's Guide : Edge Enhancer
Optipix User's Guide: Edge Enhancer
Edge Enhancer is a powerful plug-in that is used to both reduce noise and enhance edges. If you don't try to reduce the noise first, it will get enhanced along with the edges!
The dialog for the plug-in looks like this:
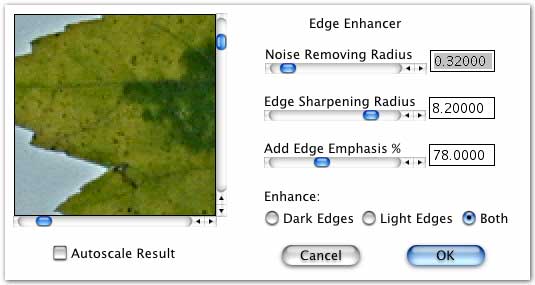
We'll use the sliders one at a time, starting with "Noise Removing Radius"
- With "Noise Removing Radius," start it out at 0.00 and slowly slide it toward the right. As the values start to increase, the grain in the image will start to disappear. The point at which the noise is essentially gone, but the edges are still there is a good place to leave it. With a digital camera, this point is somewhere around 0.2 – 0.4, but with a film scanner at 2700 dpi, it is somewhere around 1.0 – 1.4.
- With "Edge Sharpening Radius," pick a value that is bigger than the width in pixels of the edges that you care about. Typically, 2.5 – 7.5 is a good range.
- Now, we decide how much of the resulting image will be edges and how much will be the tonal value that we like. Values for "Add Edge Emphasis %" indicate how much of the edge is added back to the tonal values of the image. Good numbers for this range from 70% to 120%.
- The radio buttons at the bottom of the dialog indicate which type of edges you want to enhance: bright, dark, or both. You can try different selections to determine which gives you a better resulting image.
After the Edge Enhancer runs, it performs an Auto Contrast step if the Autoscale checkbox is selected.

Before edge enhancement
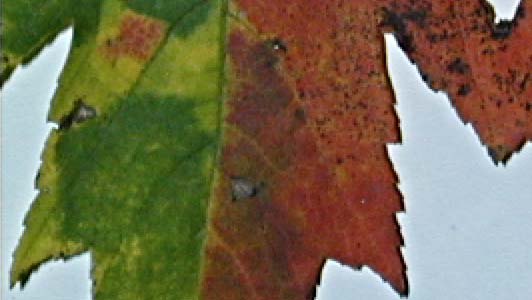
After edge enhancement
The leaf image above was processed with Edge Enhancer sliders set to noise removal 0.48, sharpen 8.6, edge emphasis 85%. Much more of the detail in the image is now visible, but the noise from the original image has not been amplified.
Next: Photoshop Actions
Prev: Image Averaging
Up: Optipix