Navigation : Home : Optipix : Optipix User's Guide : Image Averaging
Optipix User's Guide: Image Averaging
Sometimes, two images are not enough to get the range of contrast you'd like to see. You might, for example, have an exposure bracket sequence and want to see the average of the entire sequence. You could also have two or more digital camera images taken with the same exposure, but have camera noise in them.
In any such cases, the procedure for averaging the images is as follows:
- Open all the images you want to average
- Filter > Optipix > Clear Buffer
- For each image:
- Filter > Optipix > Add to Buffer
- Filter > Optipix > Show Average
- Image > Duplicate
- Rename and save the new image
This works by creating an empty buffer and adding each image into the buffer. When you finally select "Show Average," a high quality image is generated in the current window. If you had decided to change the images to 16 bits per channel, the result would also be 16 bits per channel. This lets you create a high quality digital image from a series of lower quality images.
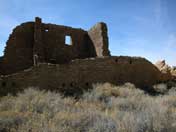
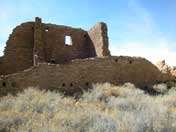
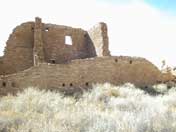
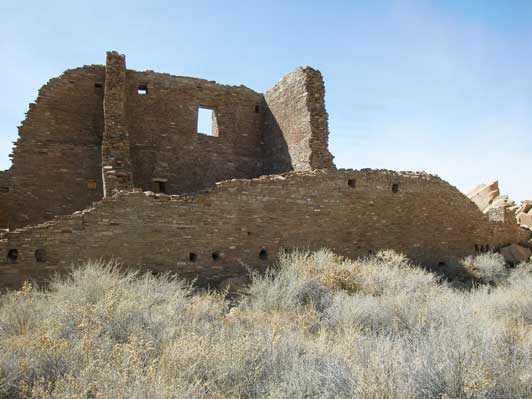
This series of three images shows the same scene at varying levels of exposure. We can add these to the buffer as described above and average them, yielding the following image
This process works with up to 30,000 images and both 8 and 16 bits per channel, including a mixture of both. It can even be used to "average" a series of video frames using Adobe Premiere.
You can also use this technique to increase the effective bit depth of the image. Averaging multiple frames has the effect of reducing the noise in the image. For digital cameras, where the blue channel of an image is especially noisy due to the type of sensors that are used, this often yields dramatic improvements in image quality for any images that must undergo a great deal of post-processing.
Next: Edge Enhancer
Prev: Layer Modes
Up: Optipix